![]()
As the weeks pass by, we inevitably find ourselves forgetting to clean our dryer sheets, shampoo our hair, or even comb our locks. Let’s face it: 2019 is filled with year-round messes, and there’s nothing wrong with hanging around for awhile, forgetting to change our clocks twice this year! There’s no better way to ensure you won’t forget a step in 2019 than to indulge in some DIY nail art. Sticking your talons into a random object that has an interesting pattern is one way to keep things fresh. Resist the urge to get one of these four nail art hacks, instead, give yourself this easy, inexpensive, and totally fabulous 15-minute nail art tutorial. Trust us, you’ll thank us come February.
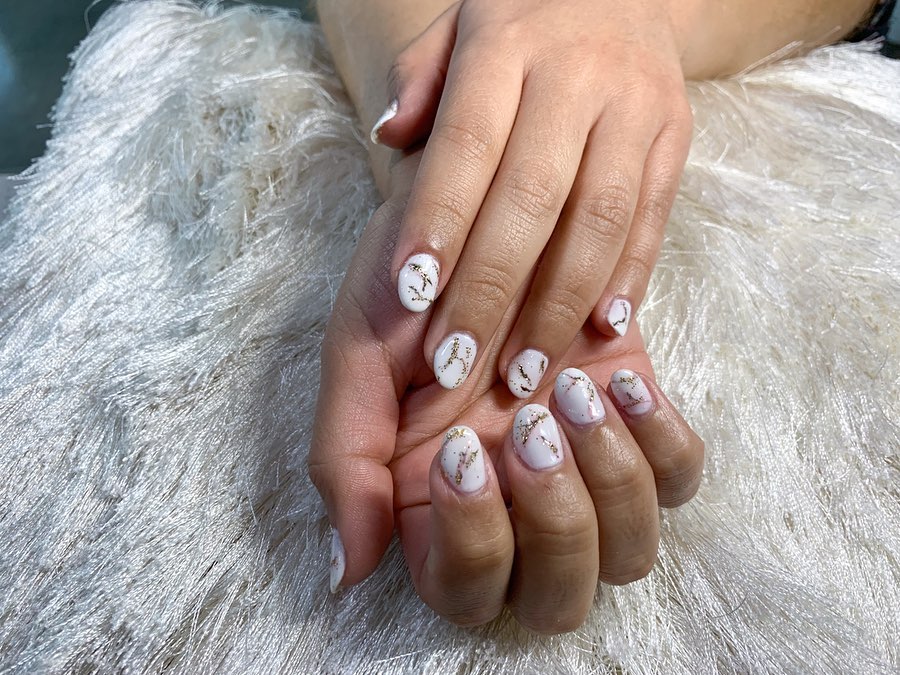
Step 1: Toss Paint Mix with Tweezers
Press your nails into a white mallee, then add a brush full of white paint onto your thumb. You should have a long, spongy result that dries into a rounded arch.
Step 2: Paint Cushion to The Base
In the same way you would use a pencil to help shape your fingers, make your mid- and ring fingers a bit similar with a delicate, light oil-based base. To give the edge some texture, shape them slightly differently.
ADVERTISEMENT
Step 3: Cushion to The Top
Attach your mid- and ring fingers onto your thick toe ring. Curl your fingers to add an extra wide end and some subtle width to your tips.
Step 4: Cushion to Toe Ring
Add a dark paint color on the bottom of your ring for depth and definition, while dividing it evenly across the top and bottom of your toe ring.
Step 5: Cushion to All Those Nails
Now you can stick your nails anywhere from a spoon to a salt shaker, rotating them around until you get them just right.
Step 6: Cushion to Arches
Vary the size of your nail each time by using a barely there brush — it’s more difficult to move the brush around if you are wearing nail polish or faux skin, but the fierceness in your hands will help cut down on color transfer.
Step 7: Cushion to Glitter
Dab a sheer, shimmery metallic on the nails and the bottom of your toe ring. This will help illuminate your look.
Step 8: Cushion to a Faux Truss
Add a thin, ribbed band of acrylic paint to the bottom of your palm, and gently spritz into the center to fill in the cracks of your nails.
Step 9: Cushion to Artsy Stick
Weced tips are fun, but why not give your hands some stick detail? Try spraying painted plastic stick about six inches into your palm and fill it in with acrylic so it looks like you have an arch.
Step 10: Cushion to an Animal
Add a large brown stuffed animal to your cap. After the stick has dried, use your nailbrush to shape it into the size and shape of a nose.
Step 11: Cushion to a Ball
If you own a toosh, a silicone ball for acrylic paints, decorate the top of your nail with a spritz of color on the inside of the ball.
Step 12: Cushion to a Tough Puzzle
You can’t stop shaking or twirling a spool of aluminum foil at this point. Try inserting one ballatop the balltop of your nail and filling it in with a coat of clear acrylic. It’ll look like it’s covered in beads and wire.
Step 13: Cushion to Instant Art
Yup, this tutorial is fully DIY! Wear your nail polish over top of your ballatop, then add an orange to a triangular shape. The nails will look like a piece of origami.
0 Comments on "How to DIY a 15-Minute Nail Art Tutorial"